Every now and again, we take on a big project for art - something that involves lots of effort, is linked with other subjects that we study, and takes more than a single class. These 3D maps of Co. Clare were an example of this! We started working on these maps last week as we had been learning about our home county of Clare and researching its history, geography, famous people, tourist attractions etc.
The first step in creating these masterpieces was drawing our maps onto large sheets of card (which was kindly donated by lots of parents - thanks so much to all!). We used a map with a grid over the top and then divided our card into nine squares with careful measurement and maths skills. Then, each pair drew the map square by square.
The first step in creating these masterpieces was drawing our maps onto large sheets of card (which was kindly donated by lots of parents - thanks so much to all!). We used a map with a grid over the top and then divided our card into nine squares with careful measurement and maths skills. Then, each pair drew the map square by square.
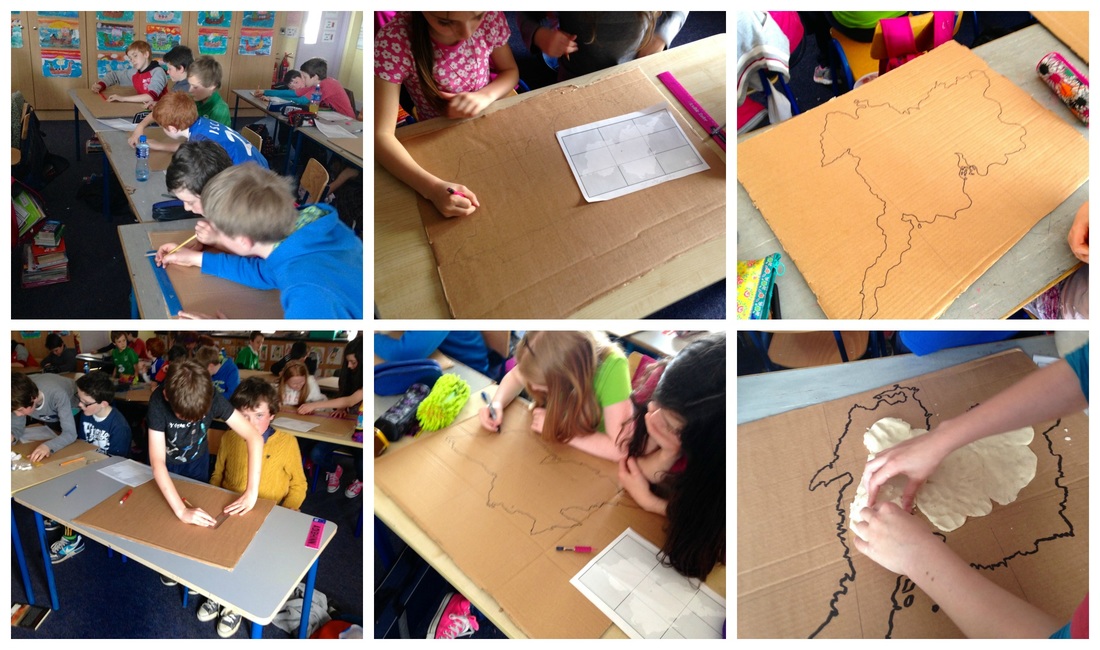
The next step was to make our salt dough...the messy part! We used a simple recipe, mixing together 4 cups of flour, 2 cups of salt and 1-2 cups of water. We stirred until a stiff dough formed, using our hands to bring it together. We then filled in our maps carefully with the salt dough, making sure we filled every inlet and headland. We then examined a physical map of Clare to see where the highland and mountainous areas are. We made sure to build up the dough into peaks at these areas. Then it was a matter of patience, as we left our maps for a week to dry in the classroom.

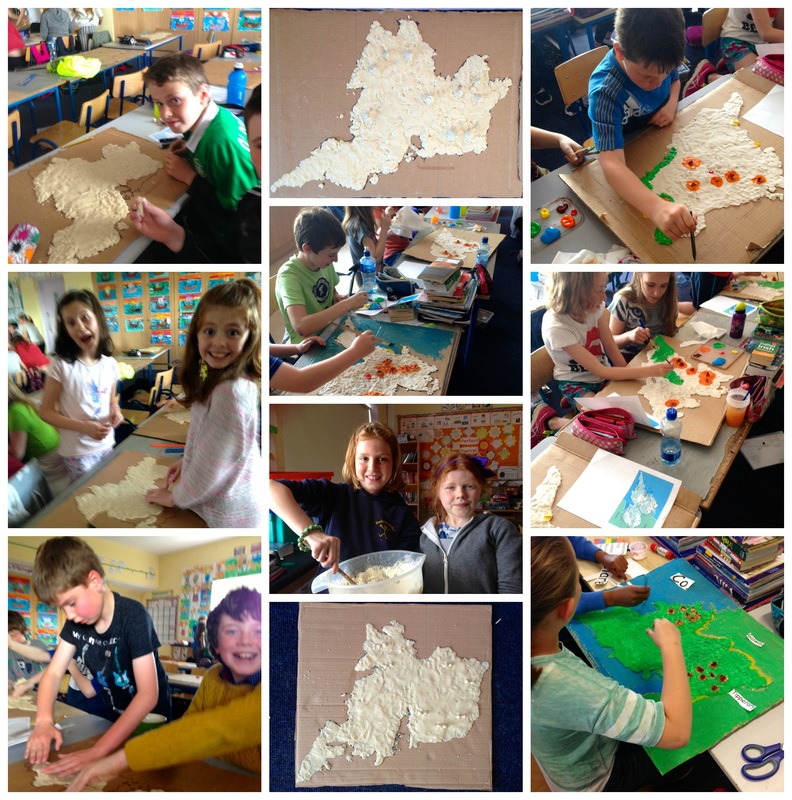
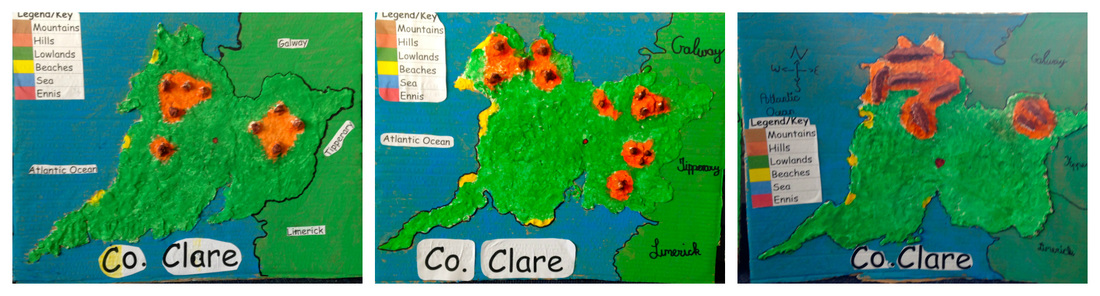
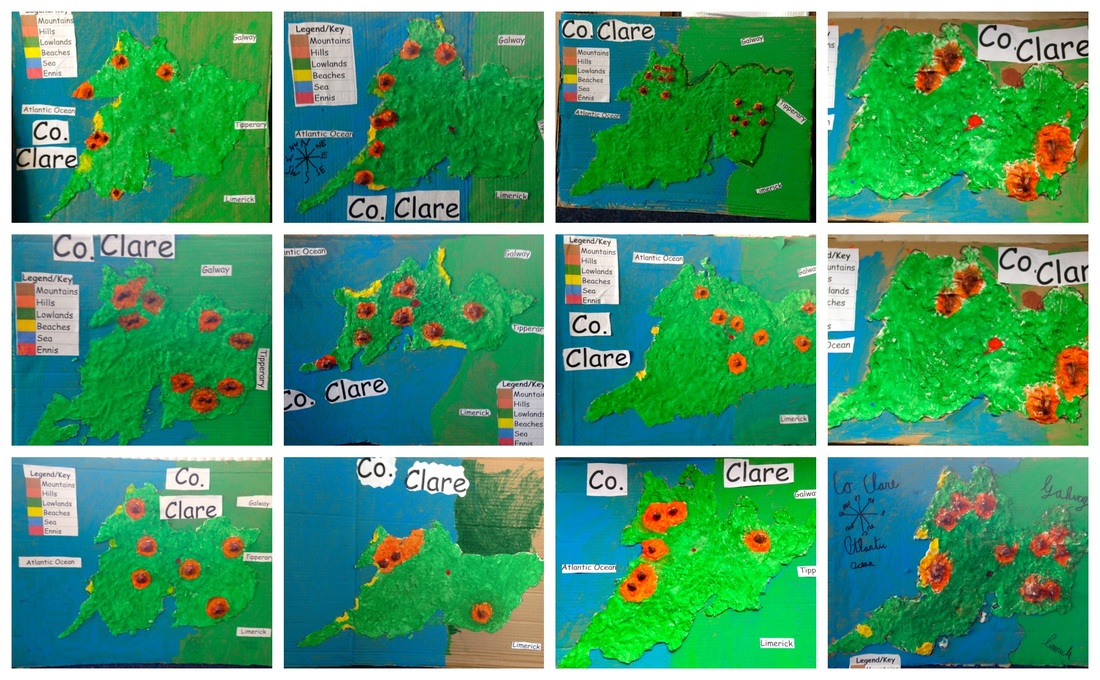
Finally, we worked on finishing our maps. We painted them according to the colours of physical maps and included a legend to explain the colour coding. We labelled the neighbouring counties and other details, and the maps were complete. They are amazing! It was a fun way to mix Geography and Art together. Come and have a look at them in our classroom if you'd like to see!
 RSS Feed
